Triggers Attachment
Triggers when you receive a new attachment.
With Syncspace, you can automatically send new messages or contact details from Tawk.to directly to your Zoho account—no coding or technical skills required. Your data flows automatically from one platform to the other.
Just follow the steps in this guide, and your Tawk.to submissions will start showing up in Zoho automatically.
It’s fast, simple, and saves you time.
Prerequisites:
Before you begin, make sure:
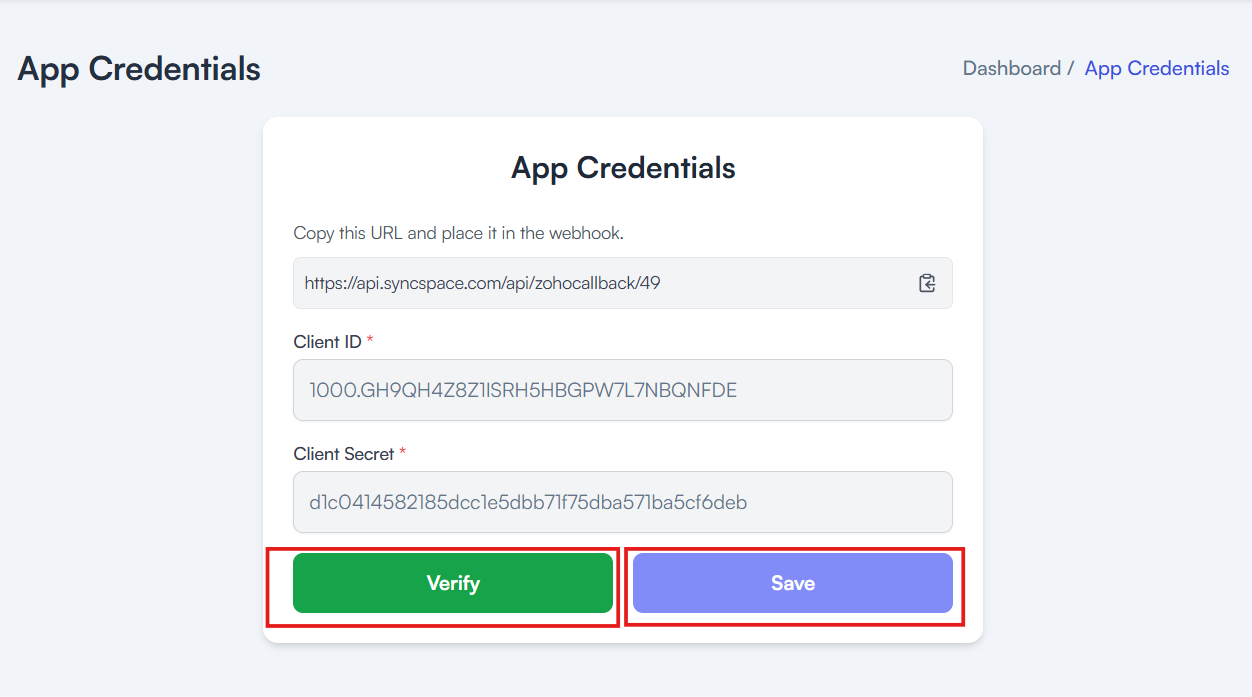
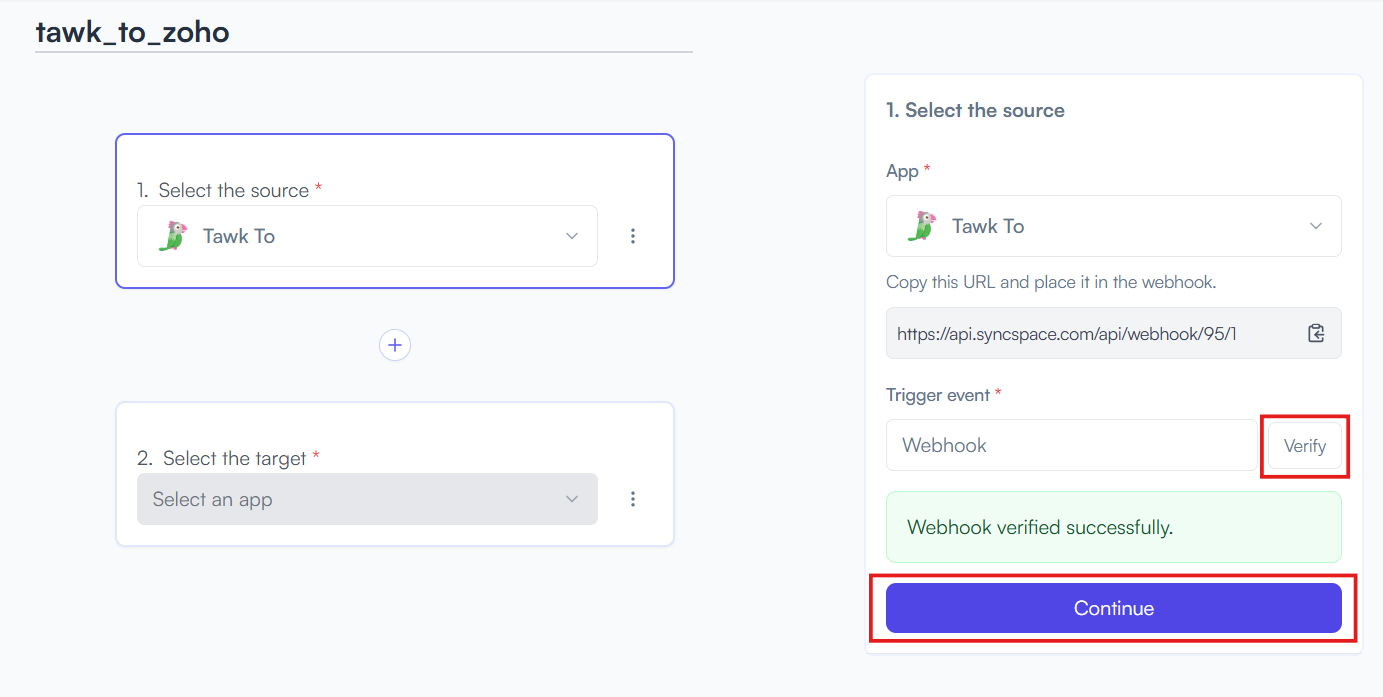
📝 Note: Copy the URL shown at the top — you will need to paste this into the Home URL field while creating your app credentials.

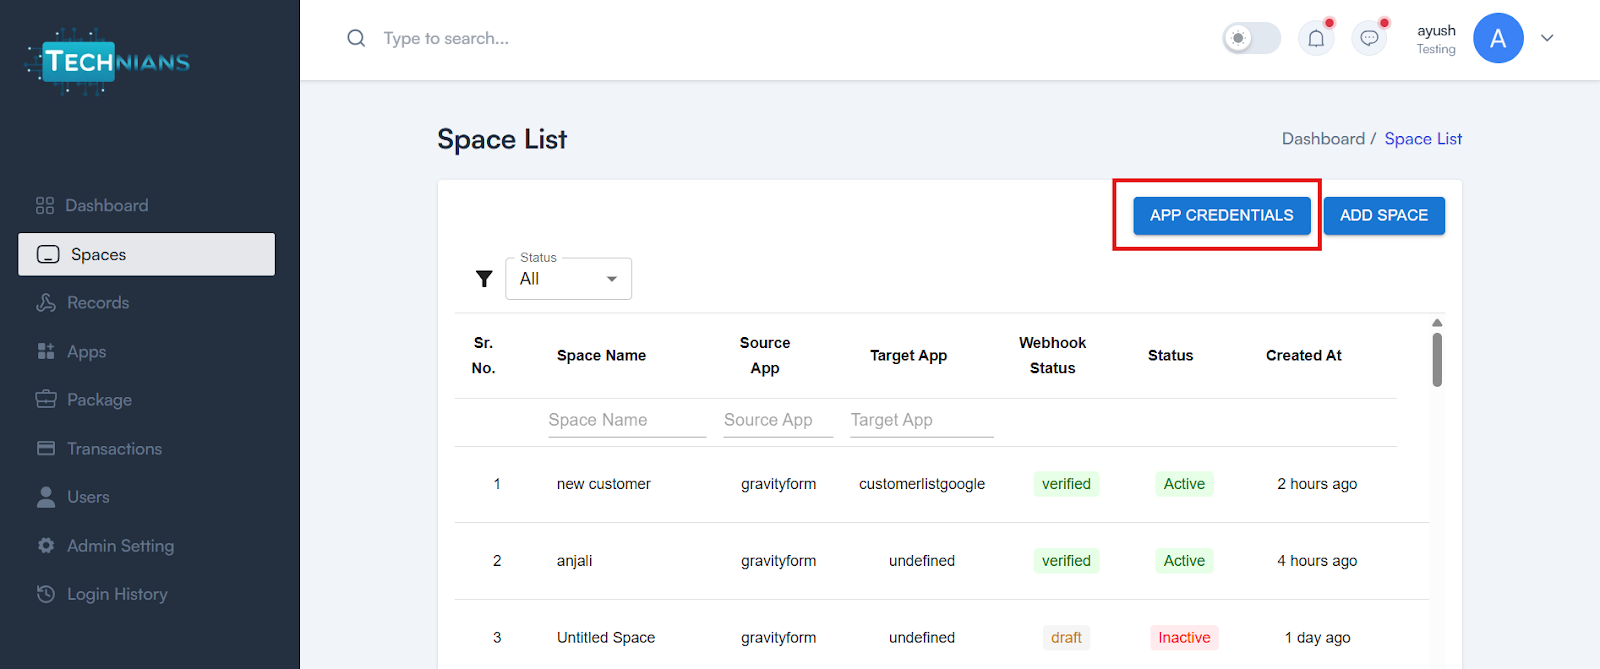
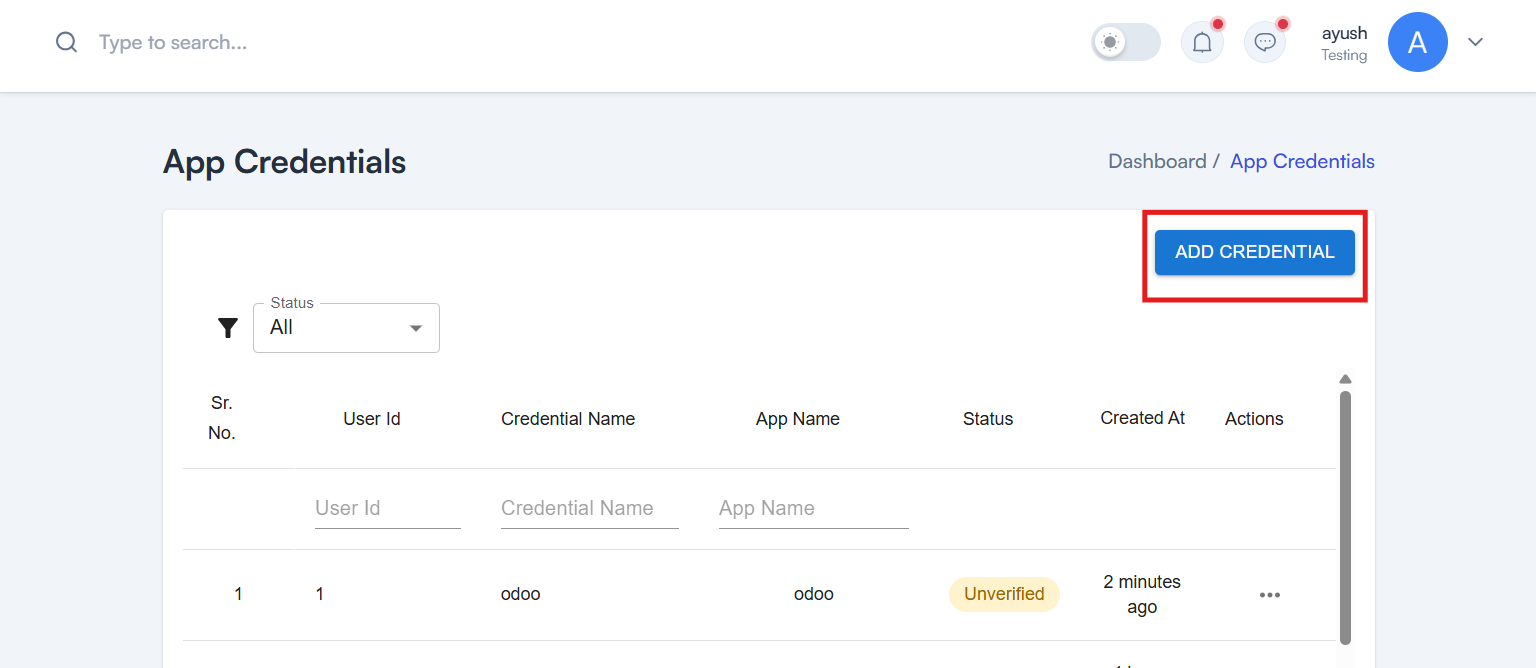
Need help creating credentials? Click here for the guide.
If you’ve already done that, continue below to create the space.
📝Note: First, click Verify to ensure the credentials are correct, and then click Save
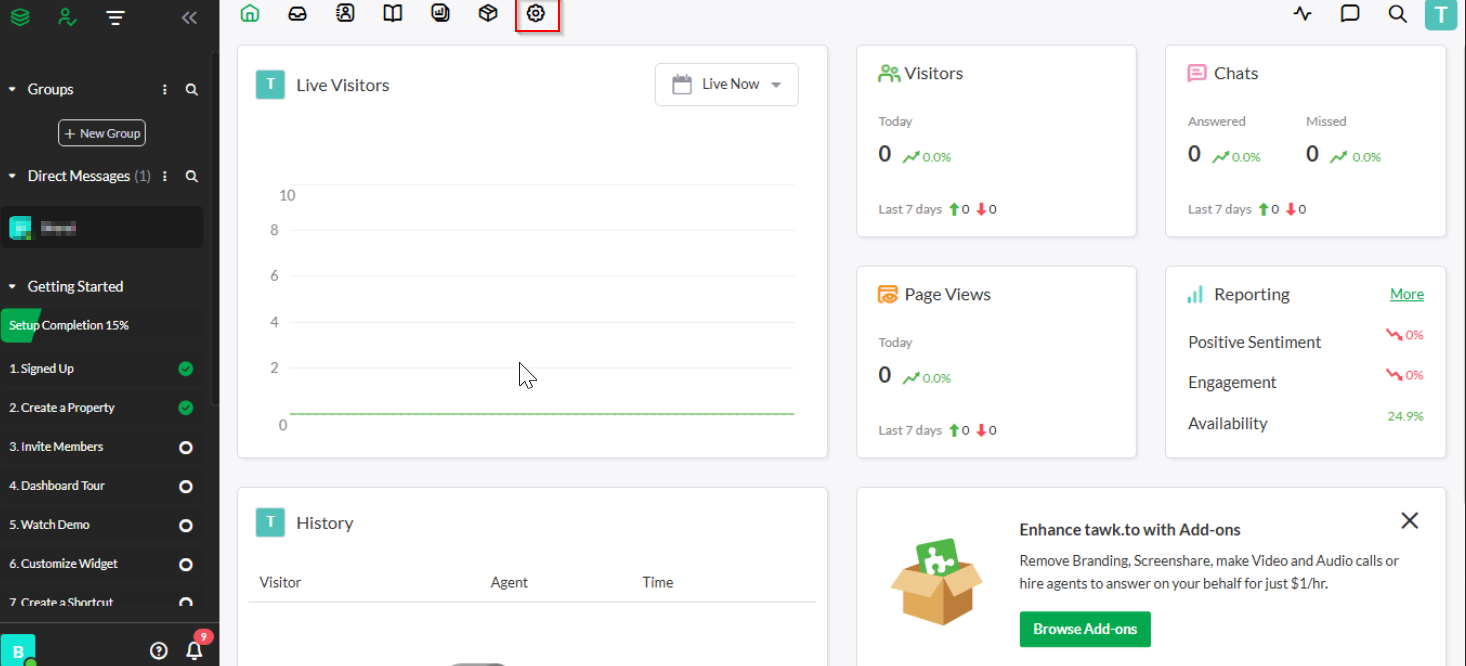
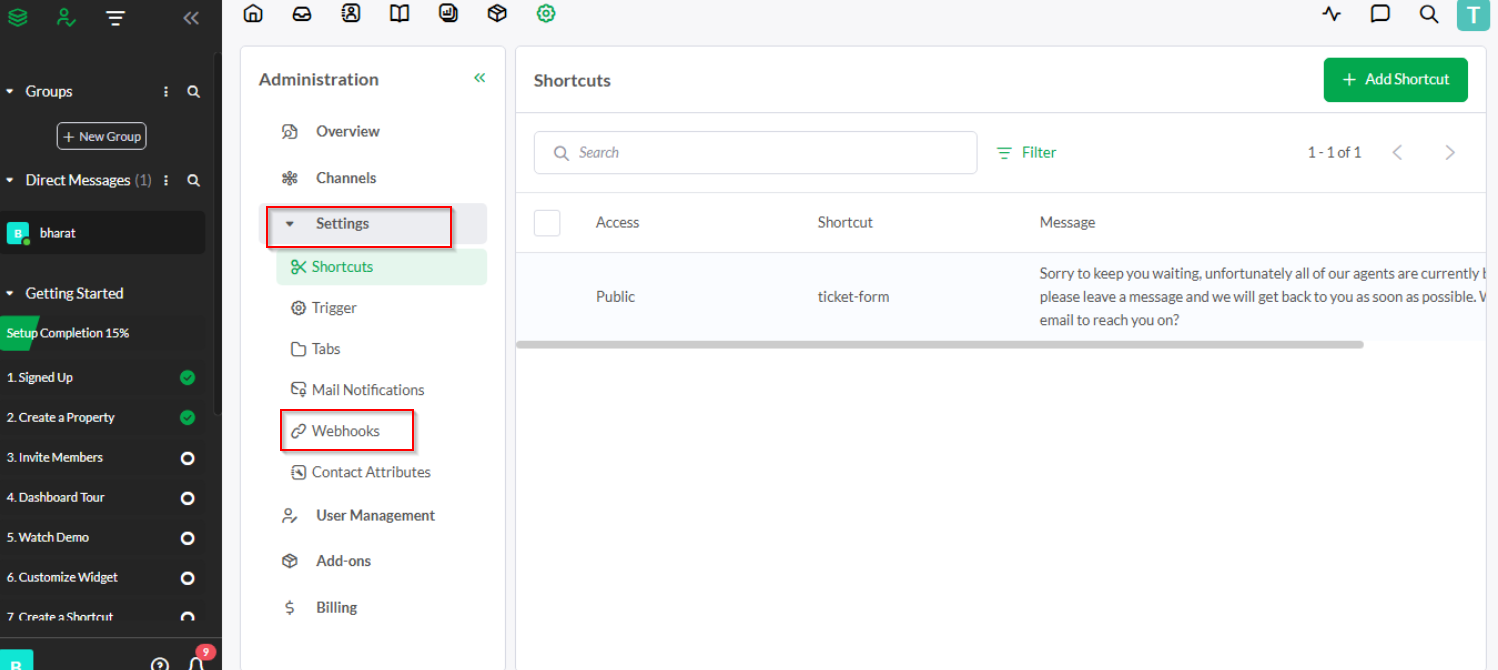
Under Settings, click on Webhook.
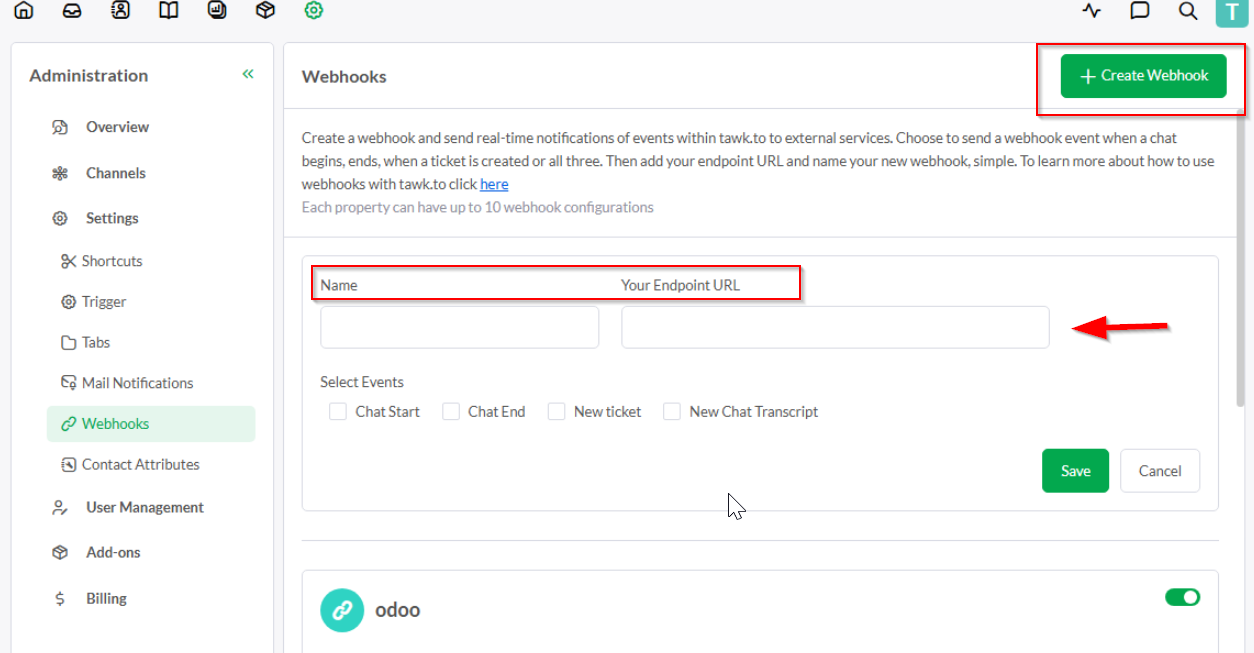
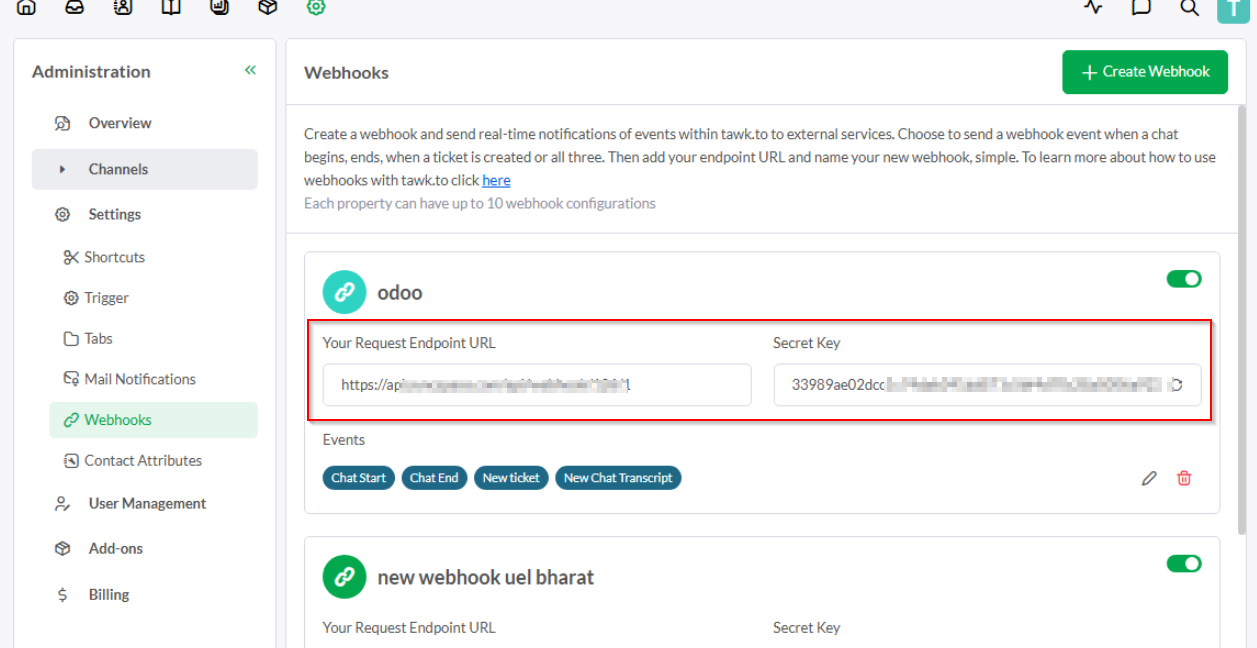
Paste your URL into the “Endpoint URL” field with a name
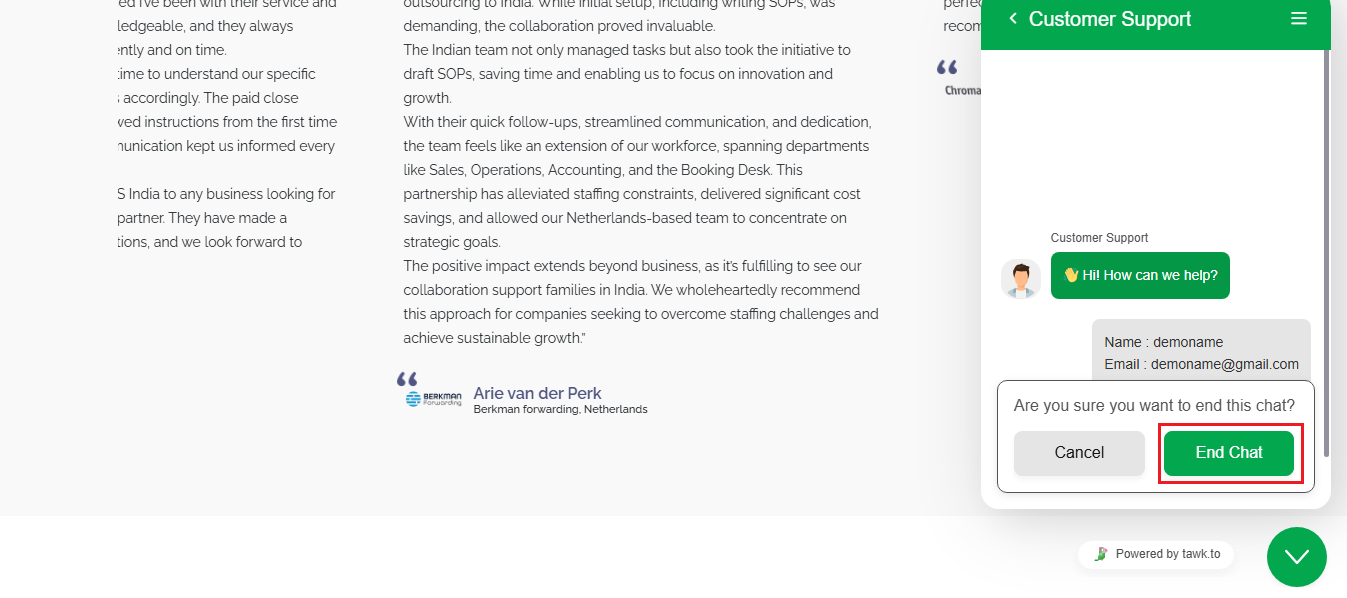
🔔 Note: Choose chat events like “chat-end” if you want to receive the visitor’s details along with their message.
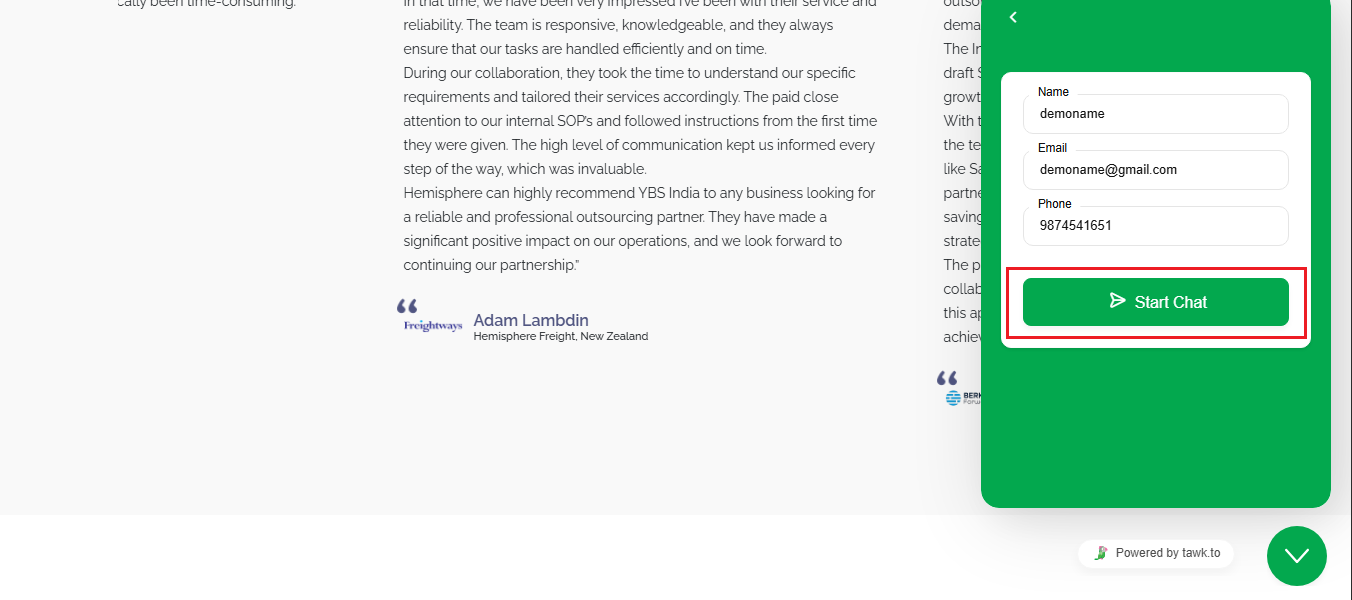
Fill in sample user details (name, email, etc.)
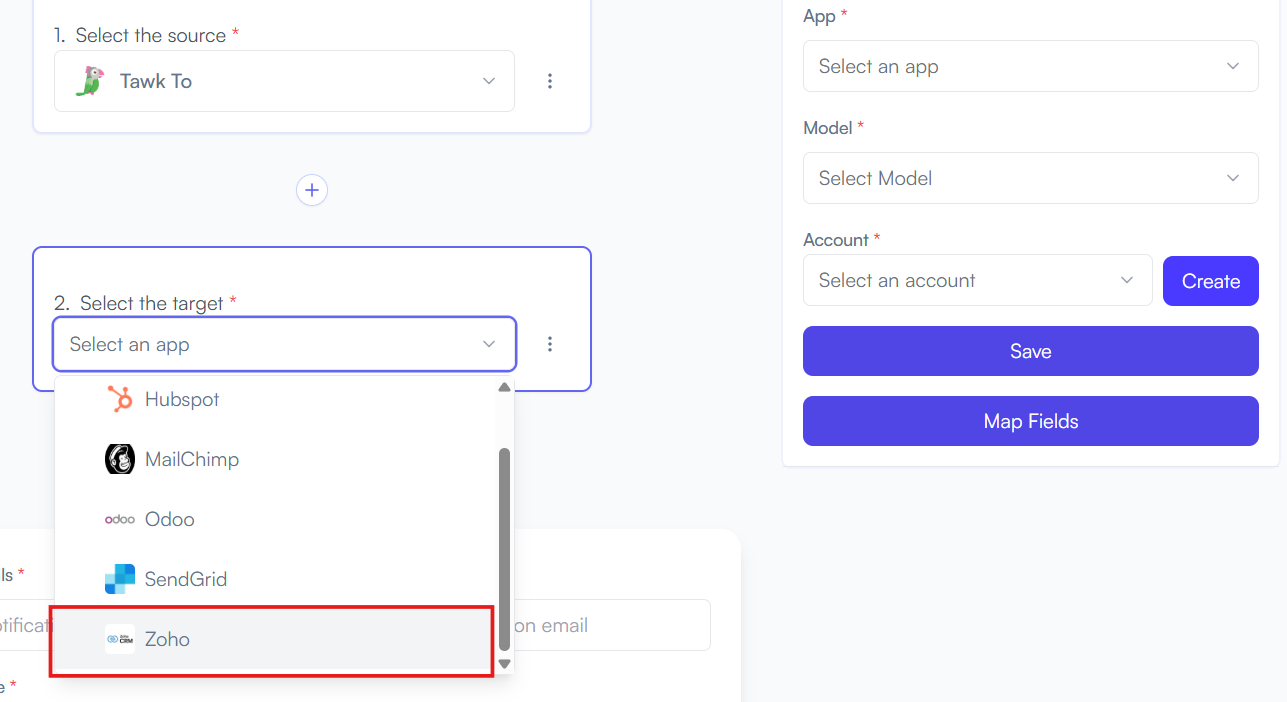
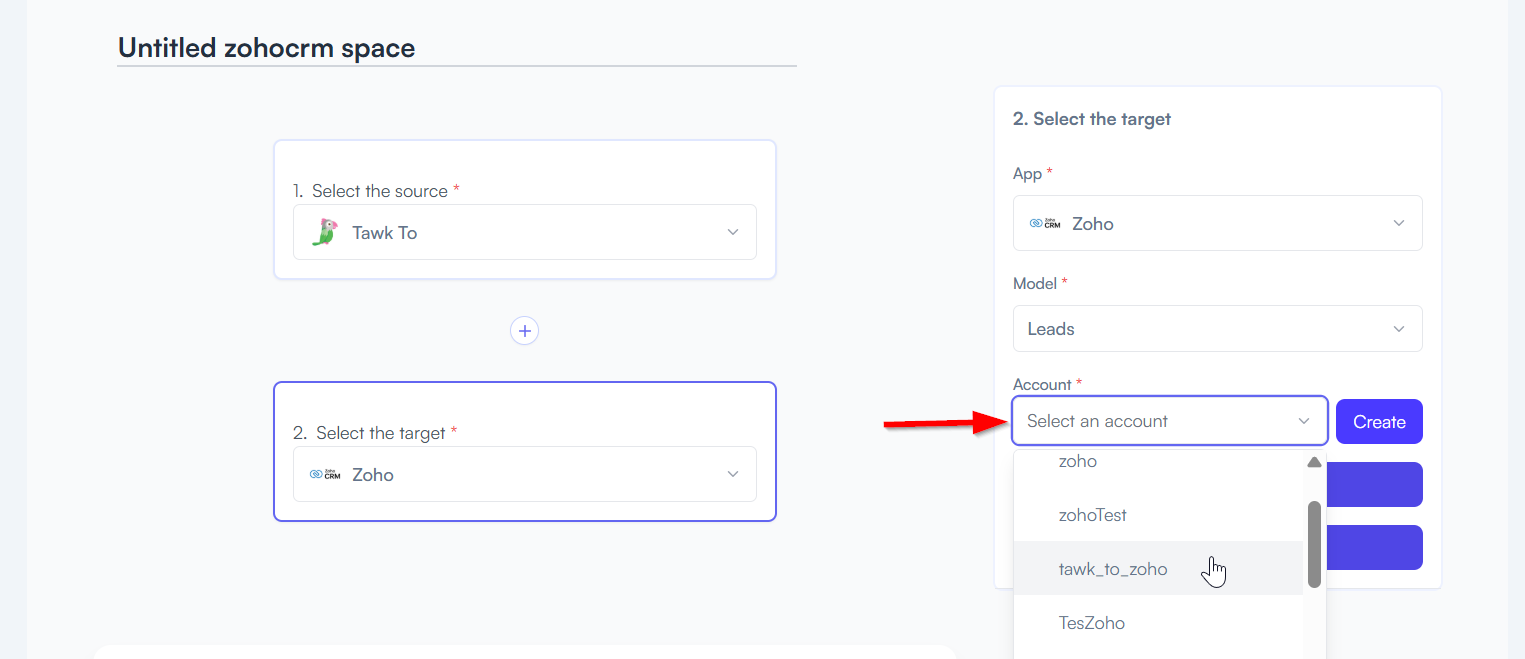
Choose Zoho
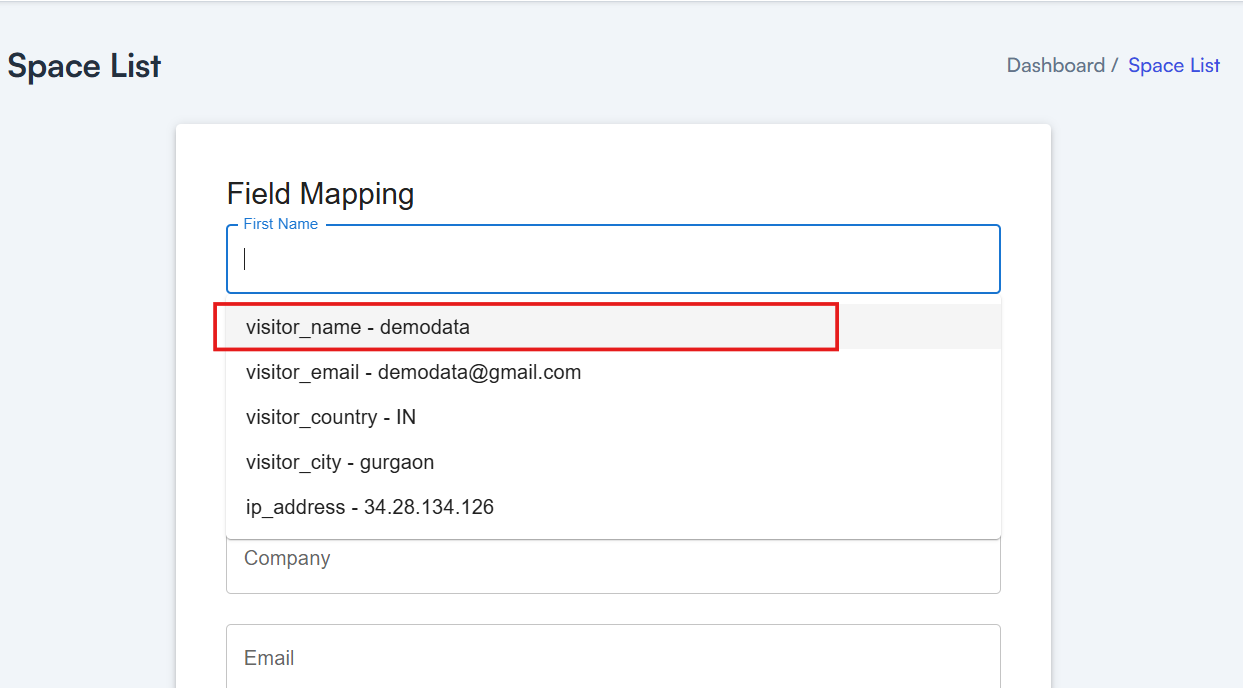
Example: Name → Full Name, Email → Email Address, etc.
Save the configuration later
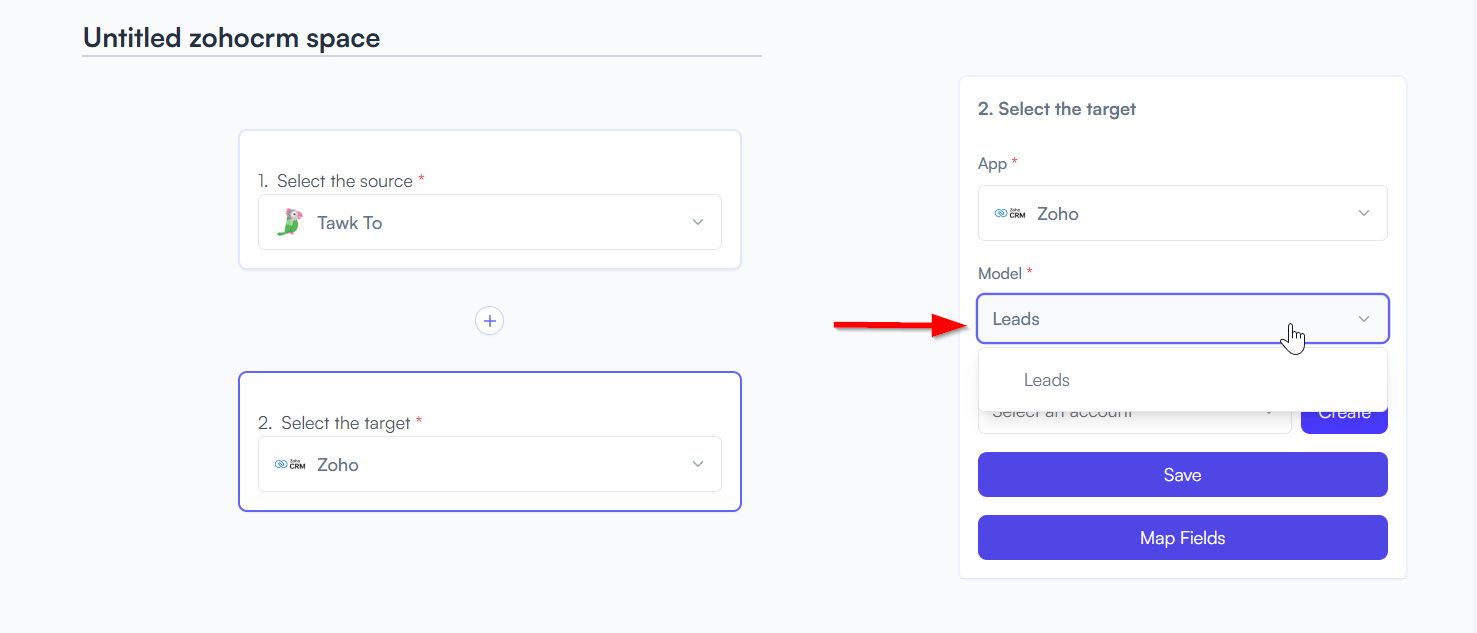
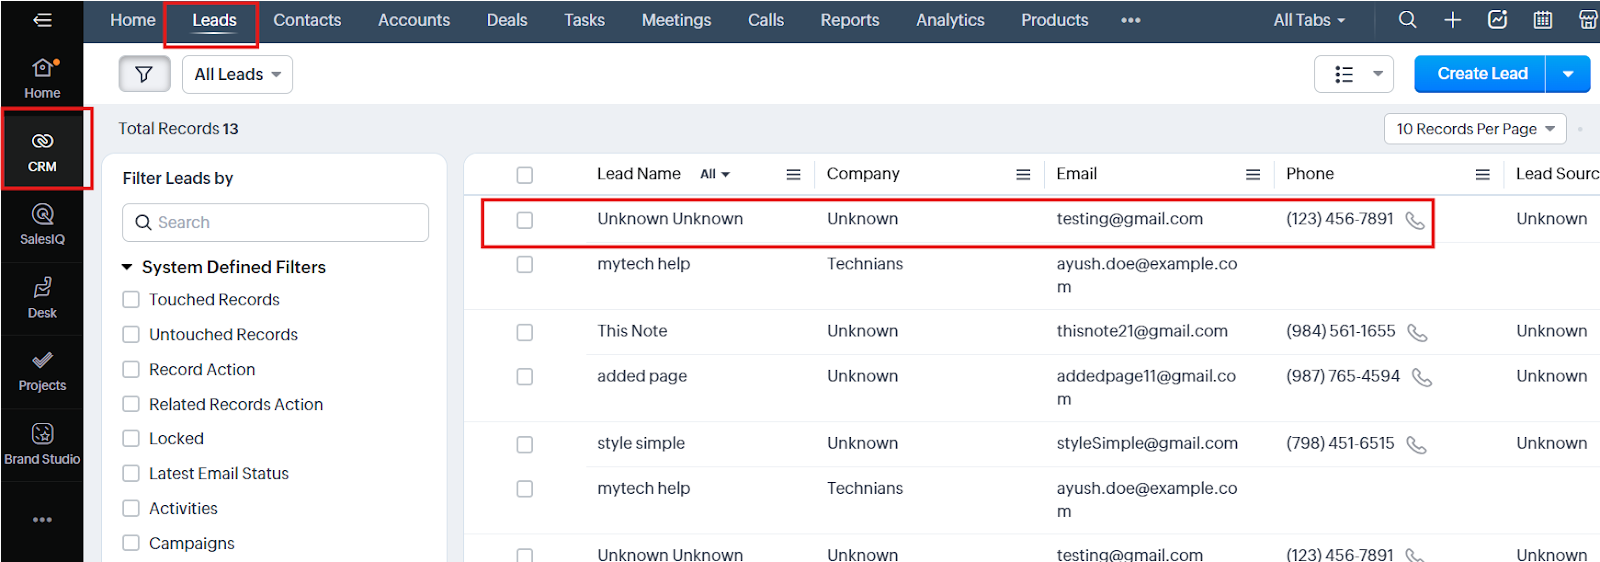
You should see a new entry created under the module you selected
Triggers when you receive a new attachment.
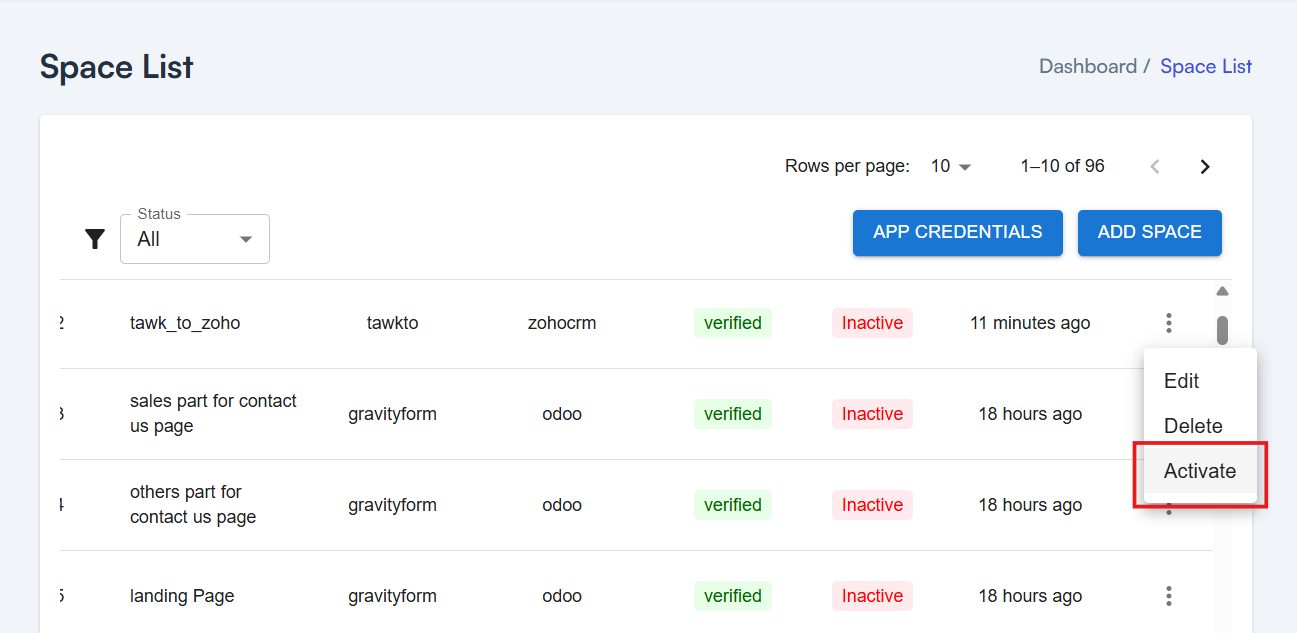
Set up rules to specify when this Space can continue running.
Triggers when any new file is added (inside of any folder).


Triggers when you receive a new attachment.
Triggers when you add a new label.
Triggers when you label an email.
Triggers when a new email appears in the specified mailbox.
Triggers when you receive a new attachment.
Triggers when you add a new label.
Triggers when you label an email.
Triggers when a new email appears in the specified mailbox.
Triggers when you receive a new attachment.
Triggers when you add a new label.
Triggers when you label an email.
Triggers when a new email appears in the specified mailbox.