Send Google Ads lead form Entries to Mailchimp

Google Ads Leads Form to Mailchimp Integration Guide

With Syncspace, you can automatically send new entries from your Google Ads Lead Form directly to your Mailchimp Account so your lead data flows automatically from one to the other—no coding or technical skills required.

Just follow the steps in this guide, and your Google Lead Form submissions will start showing up in SendGrid automatically.
It’s fast, simple, and saves you time.

Prerequisites:

  • You have access to a Google account with Google ads Leads set up and a Mailchimp account.

  • You are logged in to both platforms.
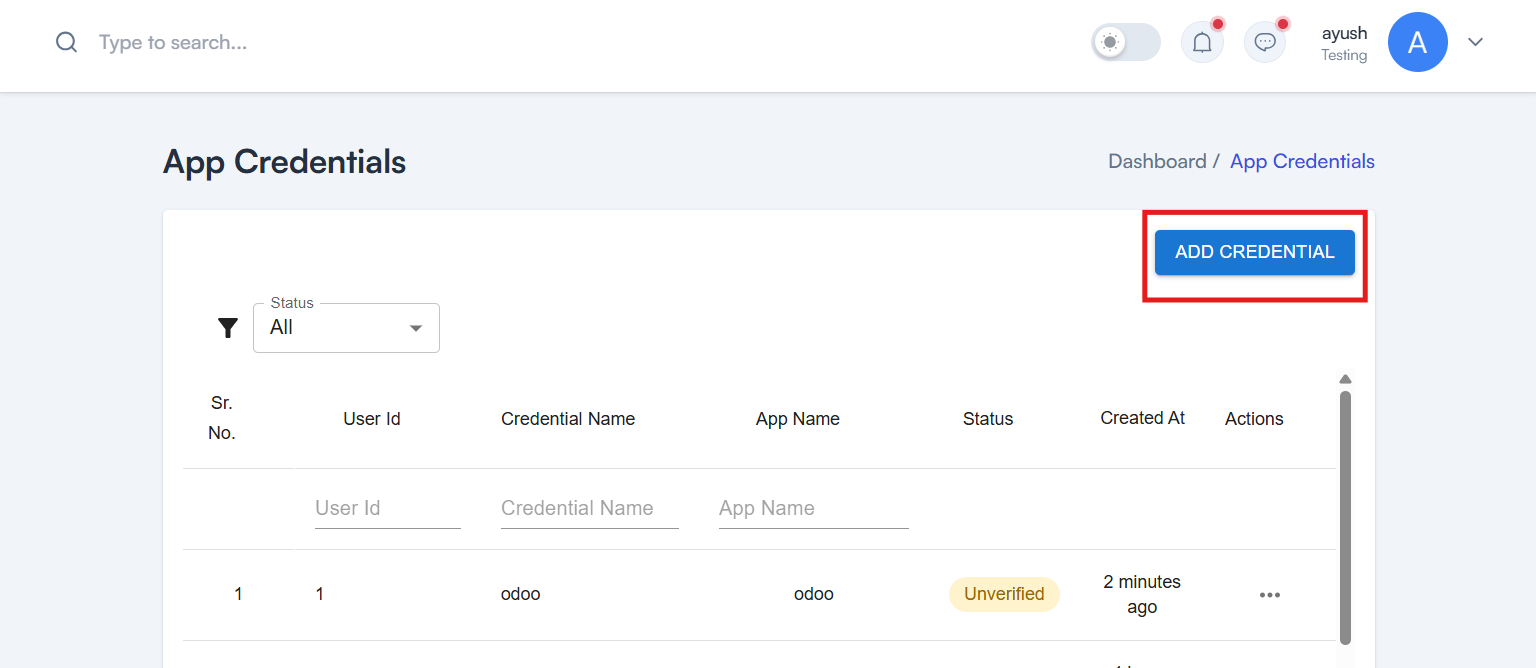
Step 1 Click on App Credentials
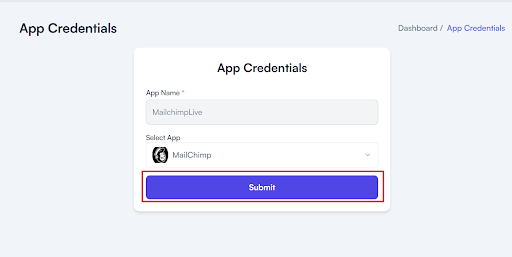
Step 2 Create New Credentials
Step 3 Configure App details
  • Add your App Name
  • Select Mailchimp from the Multiselect Dropdown
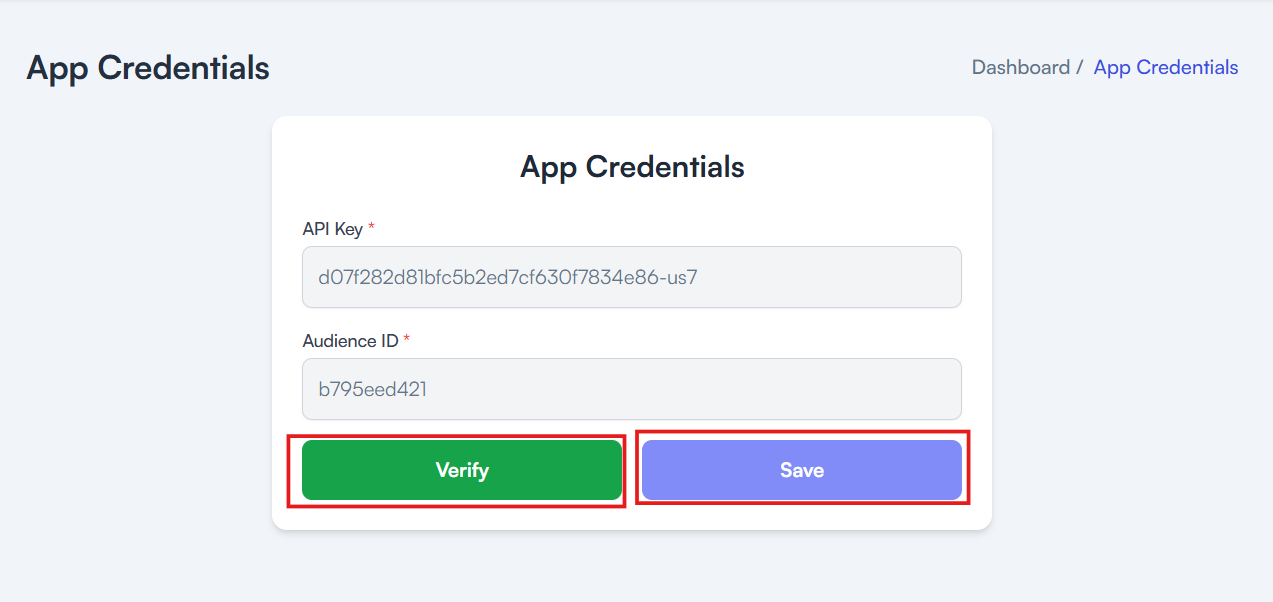
Step 4 Click Verify and then Save it.

Need help creating credentials? Click here for the guide.
If you’ve already done that, continue below to create the space.
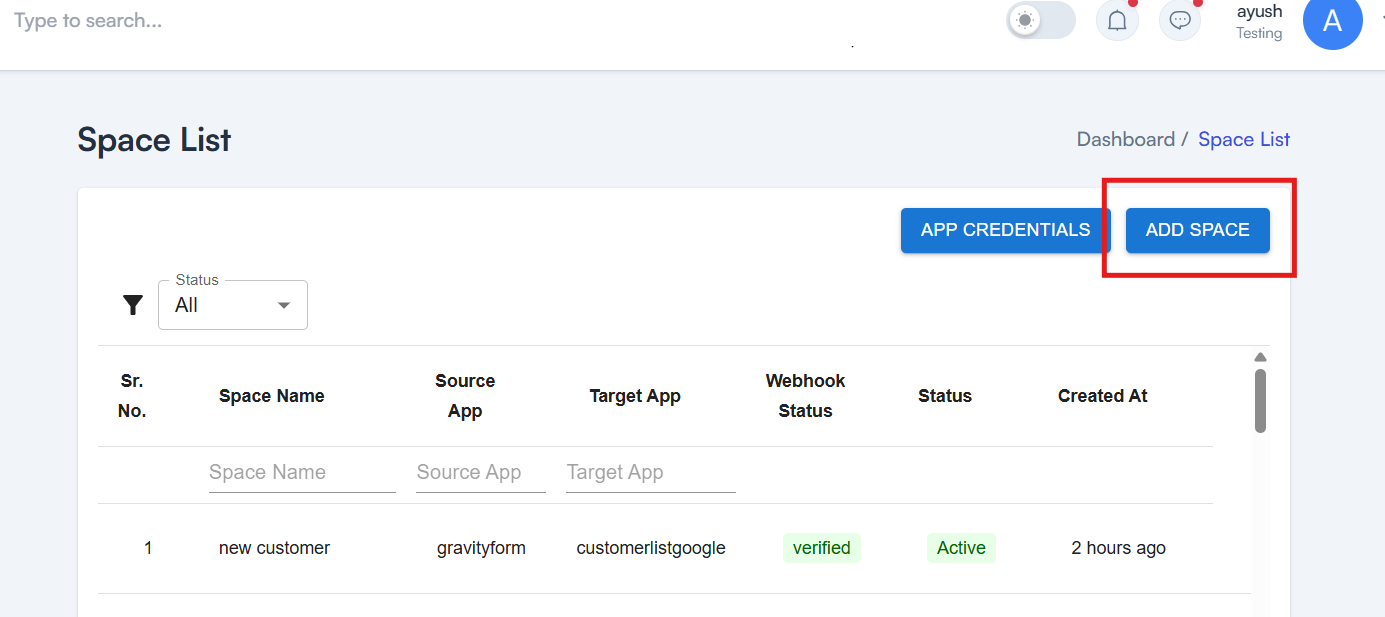
Step 5 Click on Add Space to create a new space
Step 6 Select your Source App from the dropdown

Choose Google Customer list (lead from)
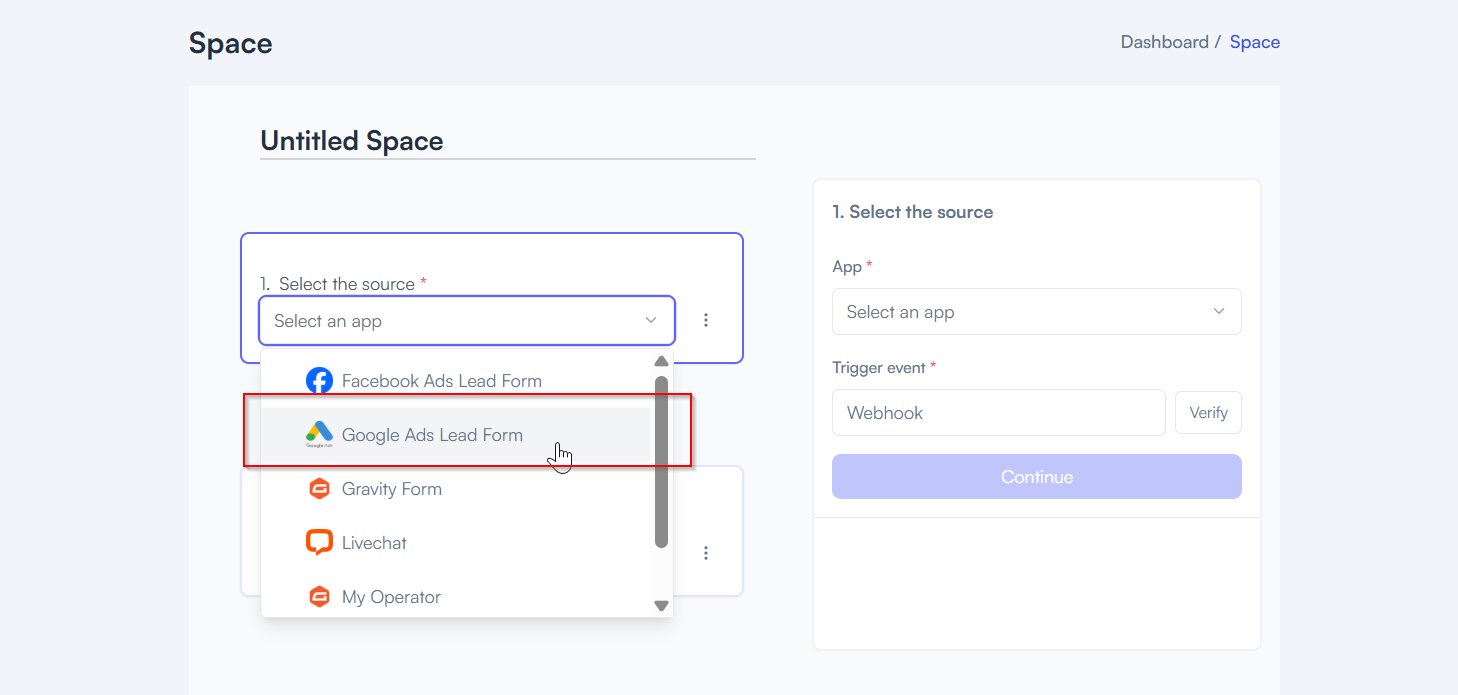
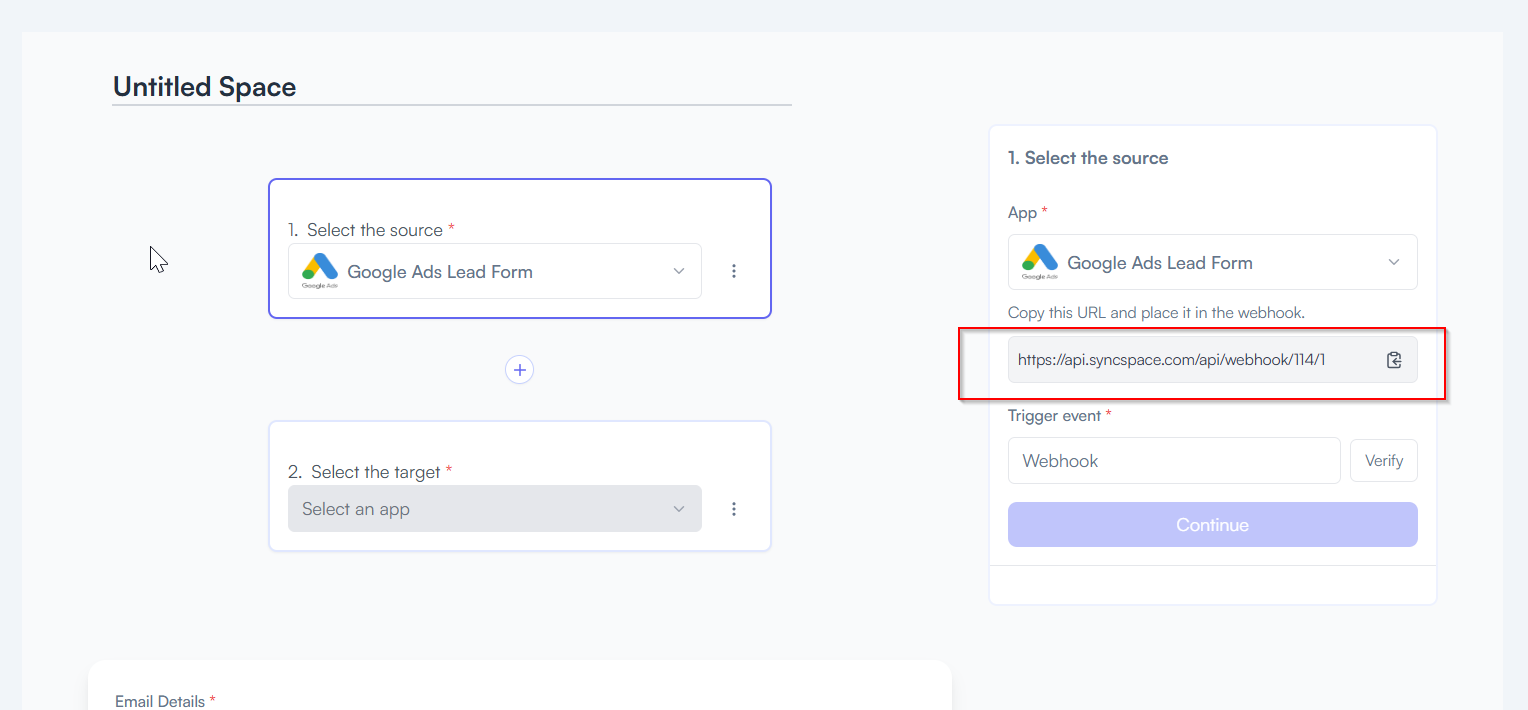
Step 7 Copy the Webhook URL generated for Google Ads Leads form
Step 8 How to paste webhook url in a Google lead form

To paste webhook url in a Google Ads lead form, follow the steps below

  • Go to ads.google.com and log in to your Google Ads account.
  • Click on “Assets” in the left-hand menu.
  • Select “Lead Form” under the Assets section.
  • Choose an existing lead form or click “+” to create a new one.
  • Scroll down to the “Lead Delivery Option” section.
  • Click on “Webhook” as the delivery method.
Step 9 Paste your Url and Key here
  • Paste your Webhook URL in the field provided.
  • (Optional) Enter a verification key, if required.
  • Click “Send test lead” to test the webhook connection.
  • Click “Save” to complete the setup.
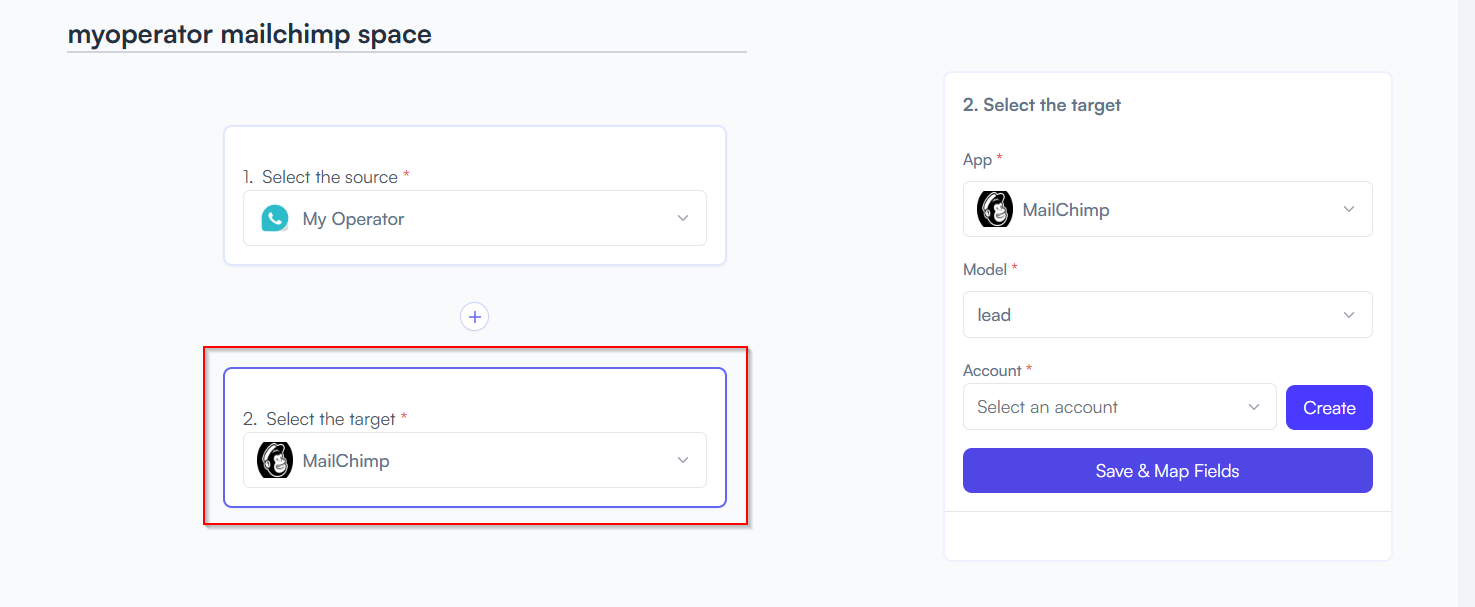
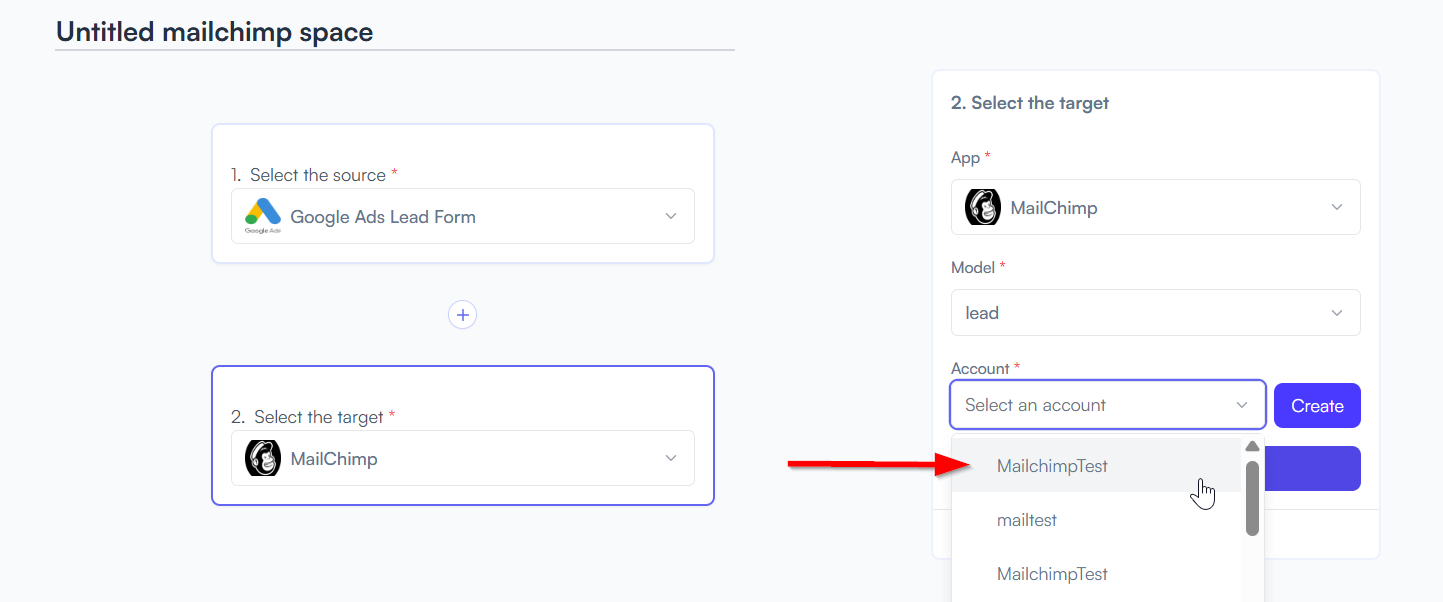
Step 10 Select your Target App from the dropdown
  • Choose Mailchimp
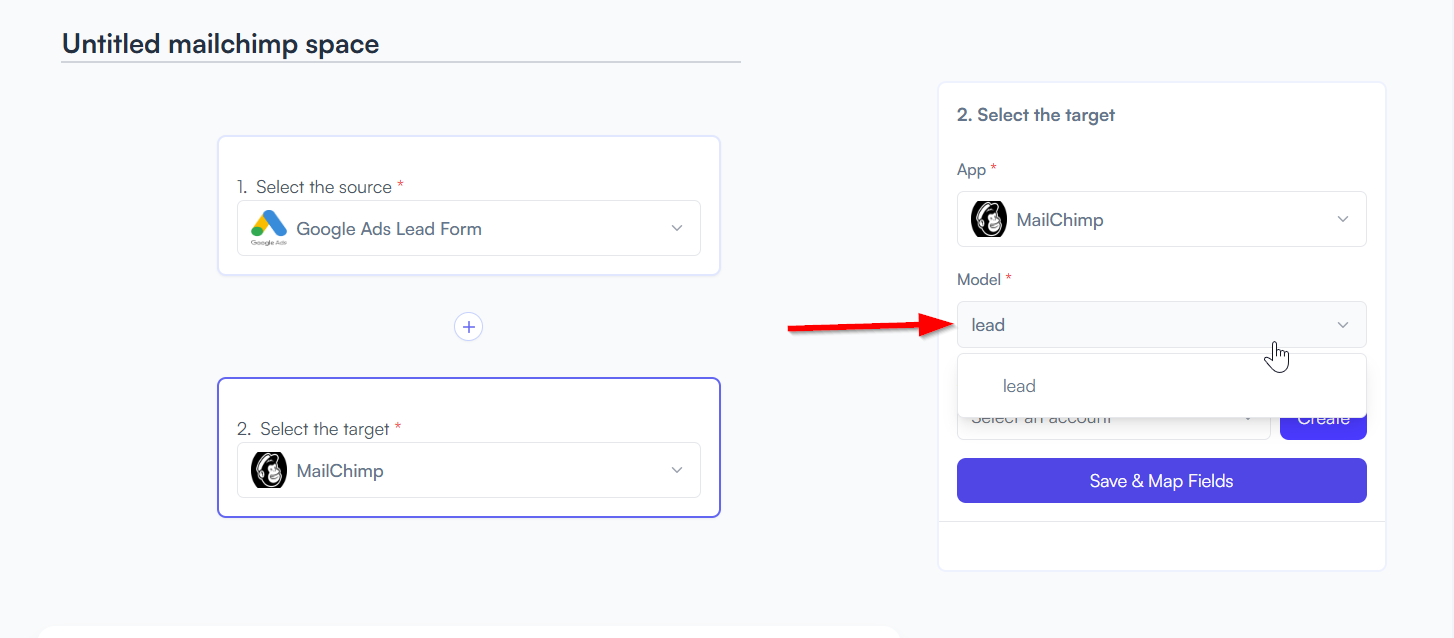
Step 11 Choose "Leads" as the model for Mailchimp.
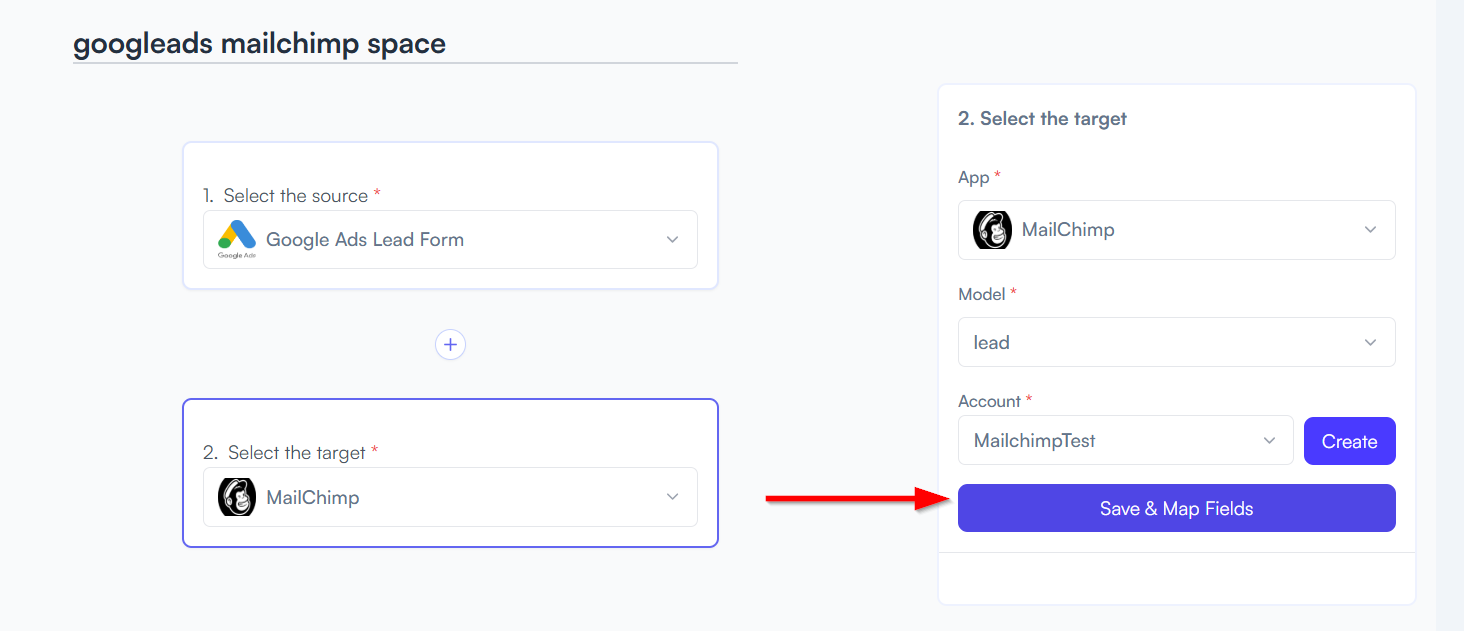
Step 12 Select the Mailchimp account you created earlier while setting up your app credentials.
Step 13 Click on the "Save and Map Fields" button
Step 14 Match Google Ads lead Form fields to SendGrid fields
Step 15 Choose how you want to save your space

You will see two buttons: Save as Draft and Save and Activate.

  • Click Save and Activate, your space will be saved and activated automatically.

  • Click Save as Draft, This will save your space, but it won’t be active. You can activate it later by following the next steps.
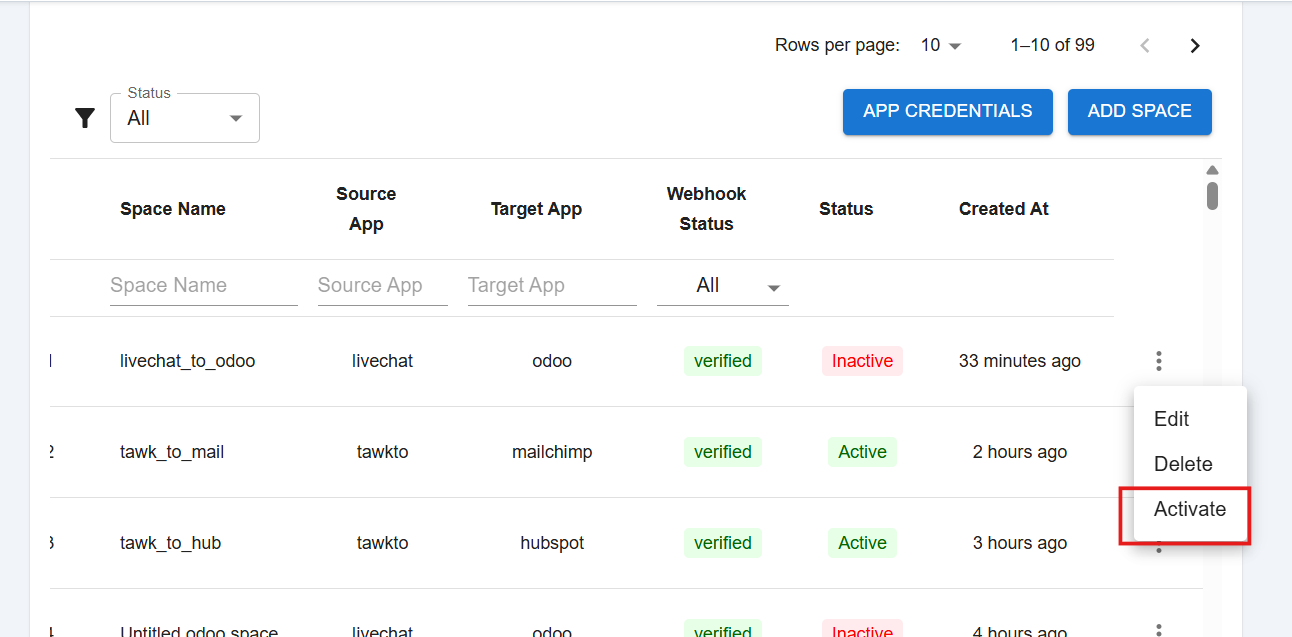
Step 16 From the Action Column, click to Activate Your Space
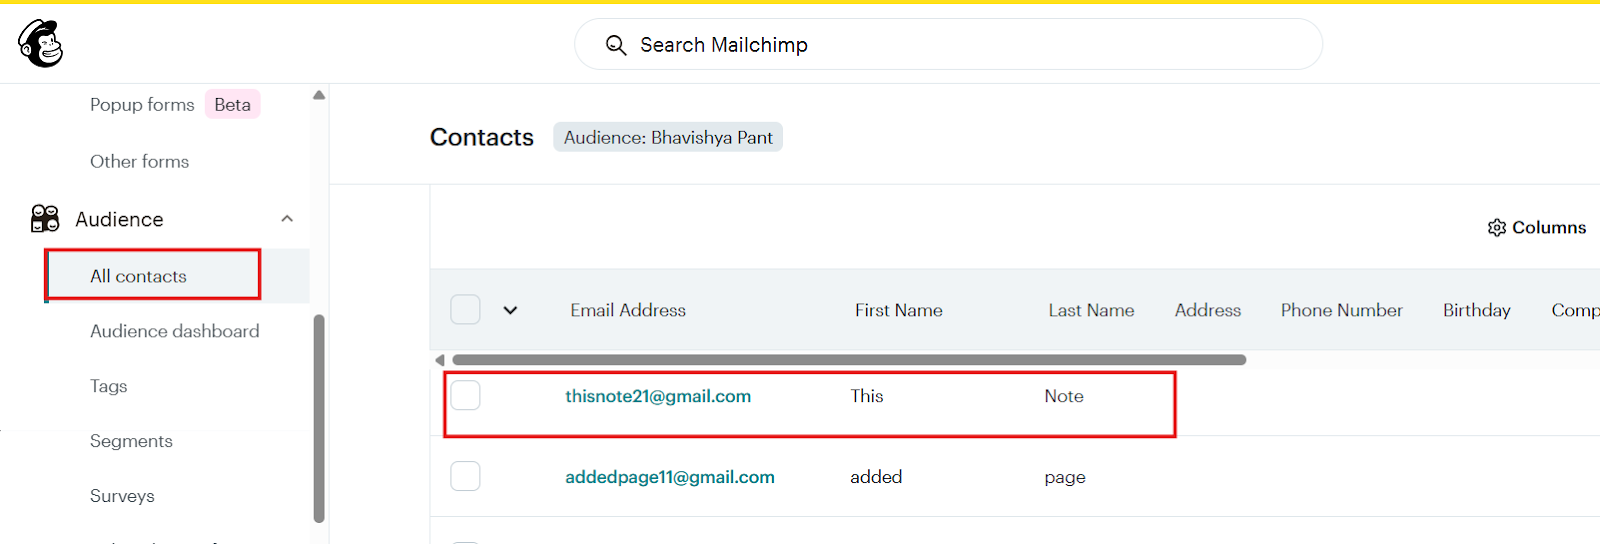
Step 17 Log in to your Mailchimp account → Go to your CRM Audience → All Contacts

 You should see a new subscriber added based on the chat details
Gmail

New Attachment

Triggers when you receive a new attachment.

sheet

Only continue if...

Set up rules to specify when this Space can continue running.

Google Drive

Upload File

Triggers when any new file is added (inside of any folder).

Supported triggers and actions

Gmail

Triggers Attachment

Triggers when you receive a new attachment.

Gmail

New Label

Triggers when you add a new label.

Gmail

New Labeled Email

Triggers when you label an email.

Gmail

New Email

Triggers when a new email appears in the specified mailbox.

Gmail

Actions Attachment

Triggers when you receive a new attachment.

Gmail

New Label

Triggers when you add a new label.

Gmail

New Labeled Email

Triggers when you label an email.

Gmail

New Email

Triggers when a new email appears in the specified mailbox.

Gmail

New Attachment

Triggers when you receive a new attachment.

Gmail

New Label

Triggers when you add a new label.

Gmail

New Labeled Email

Triggers when you label an email.

Gmail

New Email

Triggers when a new email appears in the specified mailbox.