Credentials Guide For Zoho
How to create Credentials for Zoho
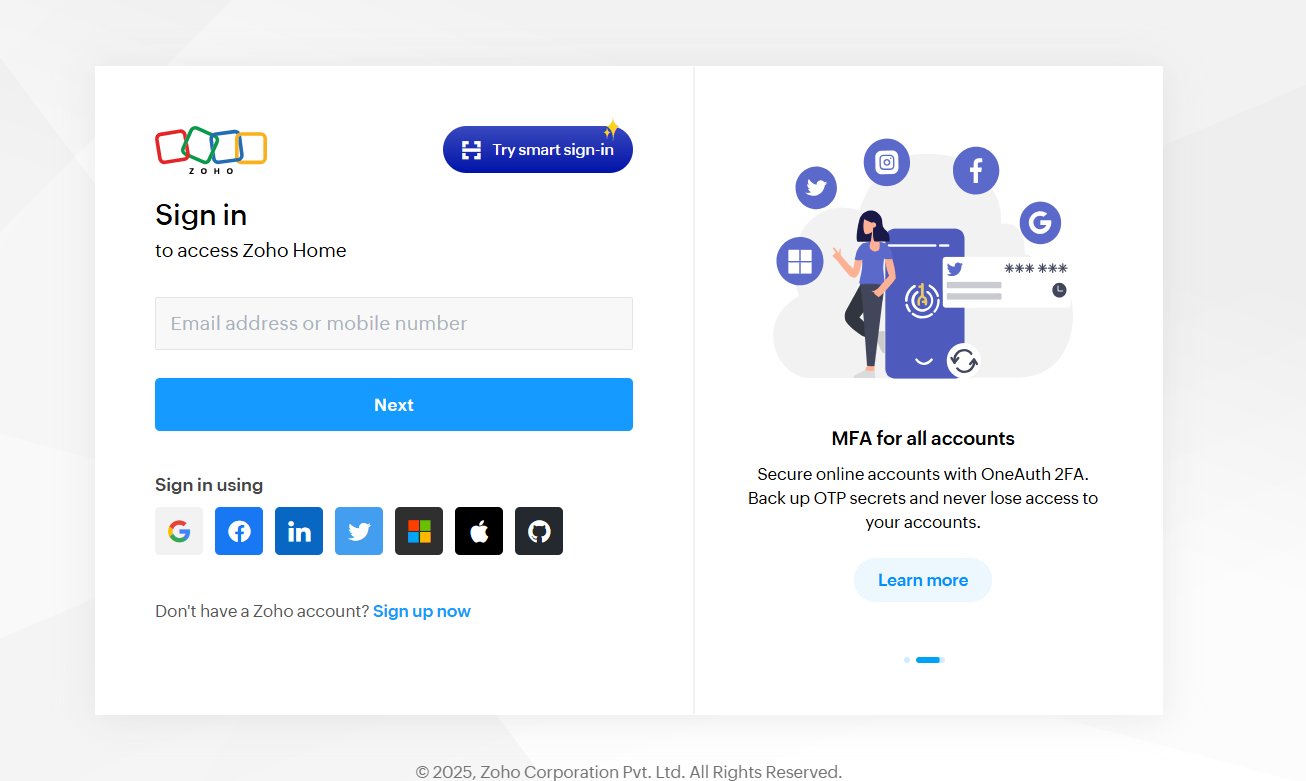
Step 1 Log in to Your Zoho Account (or Create One)
If you already have a Zoho account: https://bit.ly/44kTr2X
-
Enter your email address or mobile number.
-
Click Next, then enter your password.
-
Click Sign In to access your Zoho dashboard.
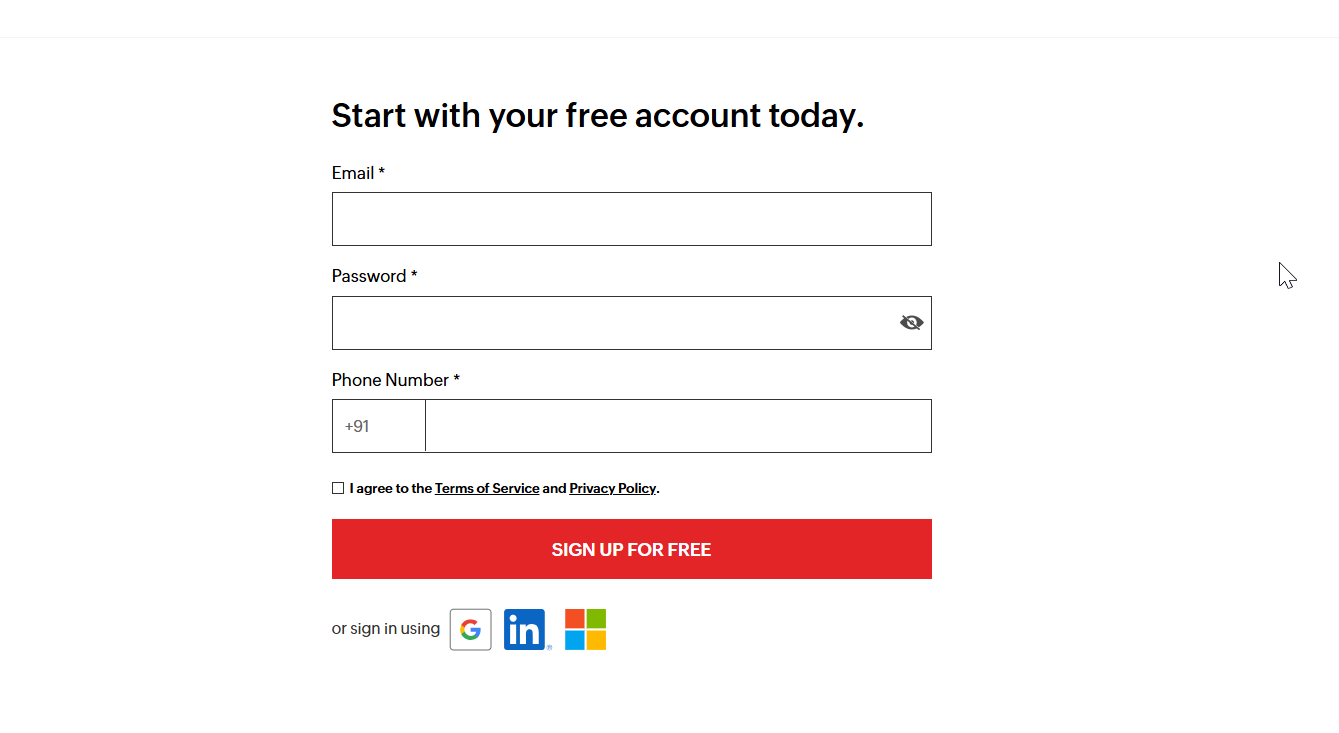
If you don’t have a Zoho account:
-
Click on Sign Up Now or go to https://www.zoho.com/signup
-
Fill in your name, email address, and create a password.
-
Choose your country and agree to the terms of service.
-
Click Sign Up.
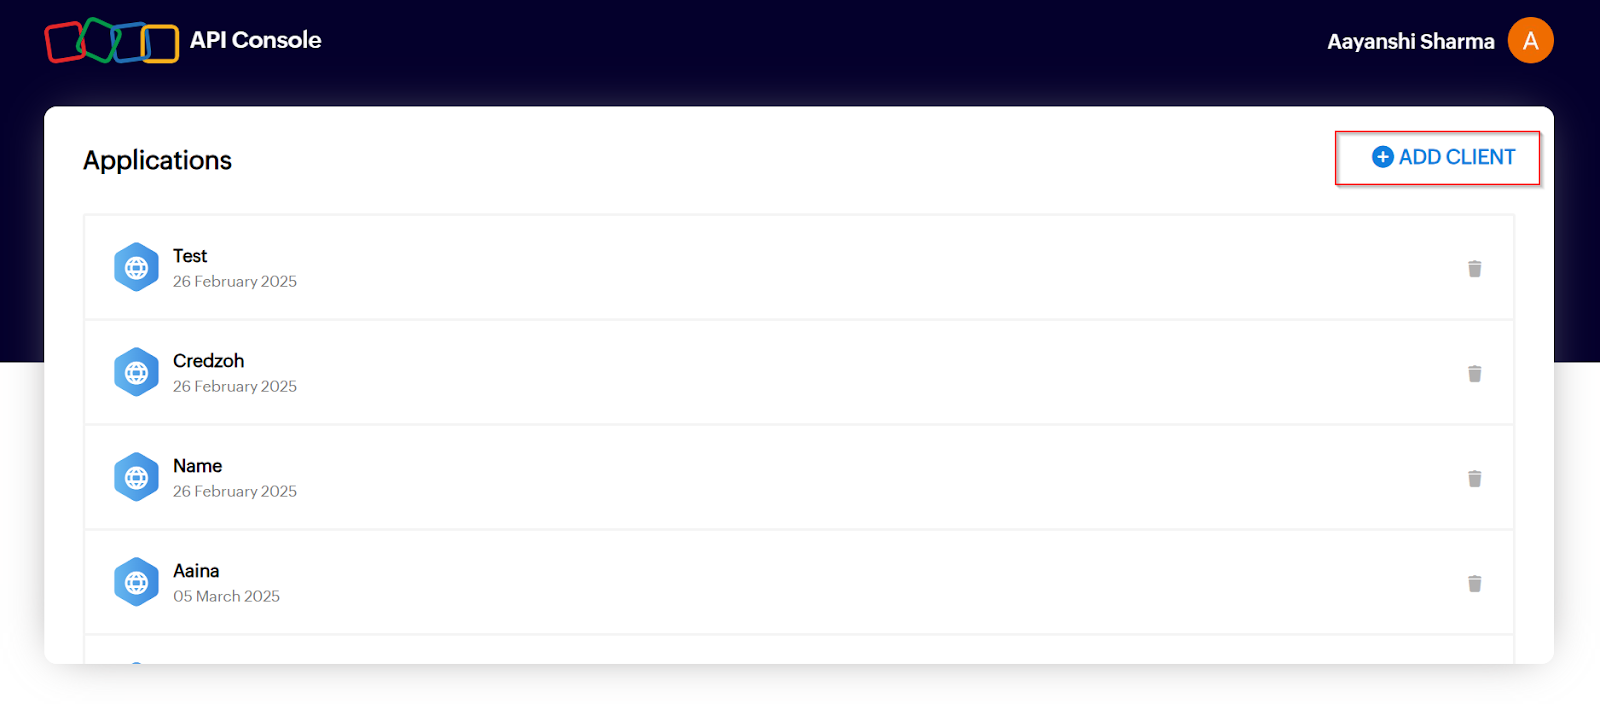
Step 3 Step-by-Step Guide to Get Zoho API Credentials
Add a New Client
Go to: https://api-console.zoho.in/
After login, click the “Add Client” button on the dashboard.
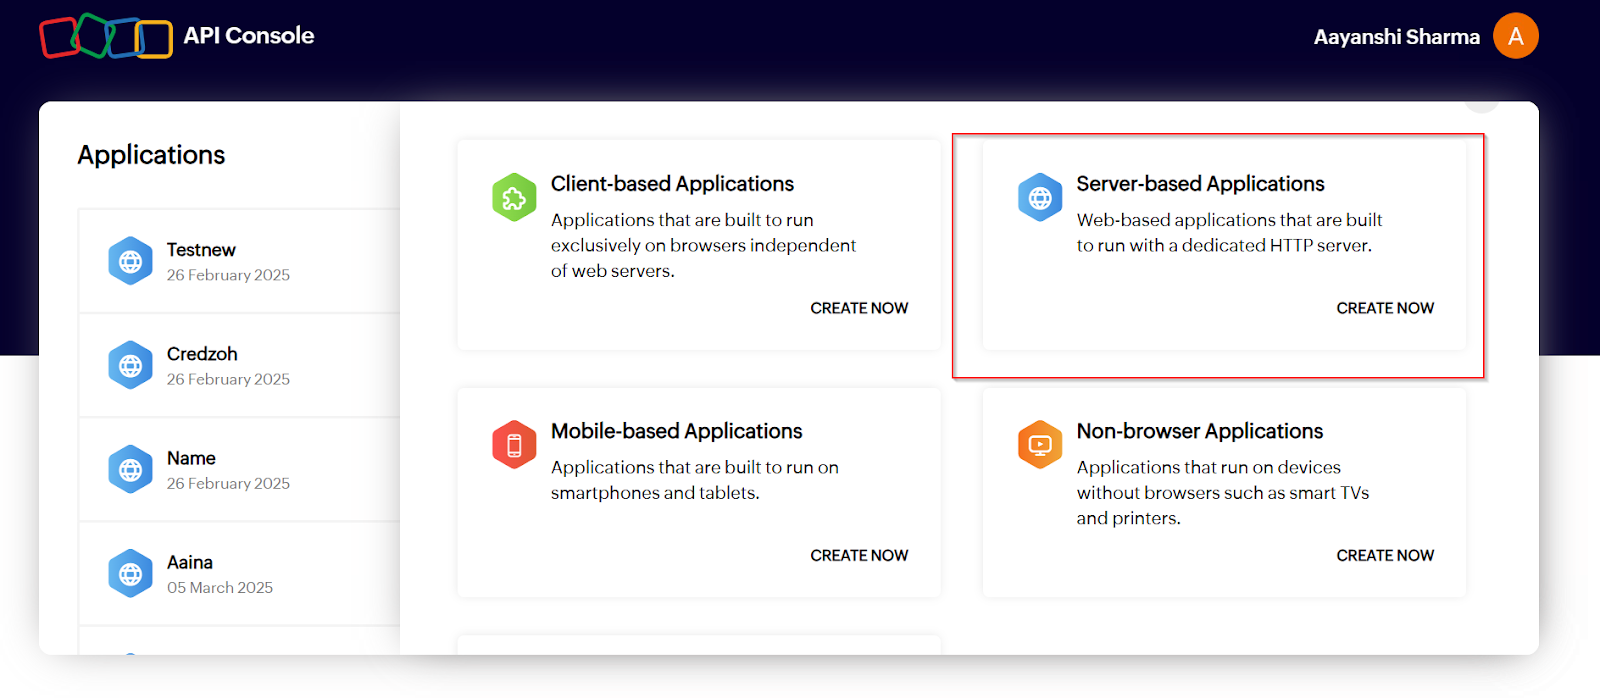
Step 4 Choose the Application Type
- A popup will appear with different client types.
- Select: Server-based Applications.
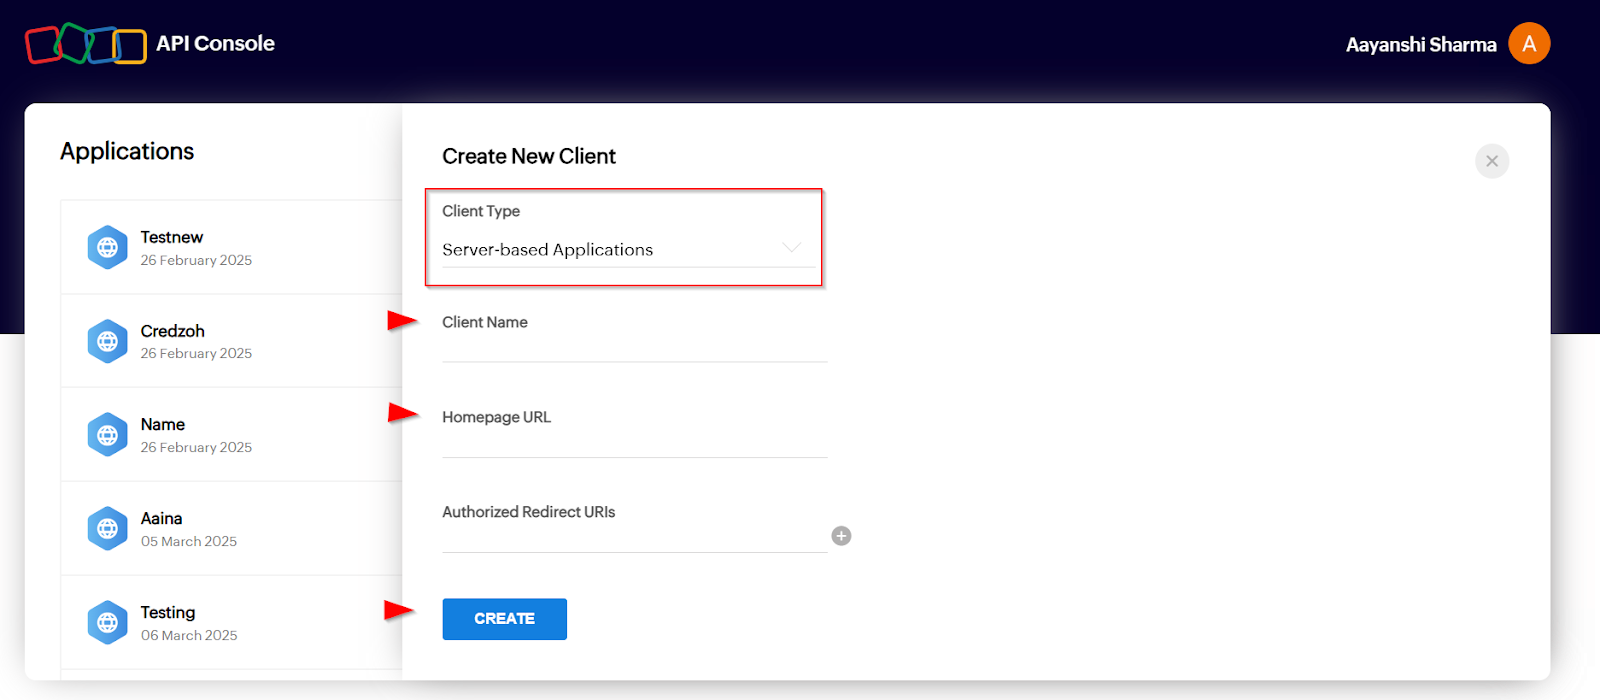
Step 5 Fill in the Required Details
You’ll be asked to fill out a form. Here’s what to enter:
- Client Name:
- You can write any name (e.g., Syncspace App or My Zoho Integration).
- Homepage URL:
- Enter: https://api.syncspace.com (This URL is mandatory)
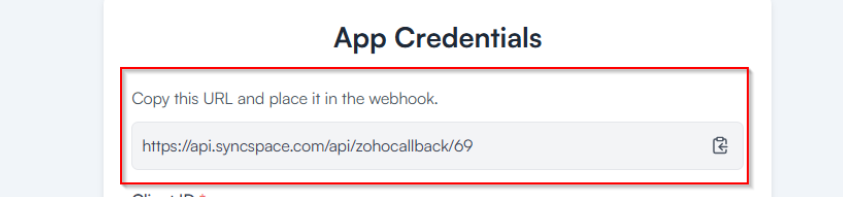
- Authorized Redirect URIs:
- You have to go the Space in“Syncspace” > App Credentials > Add credential
- You’ll see a screen where you can fetch the URL—>this URL is available at the top of your app credentials screen, as created from the beginning.
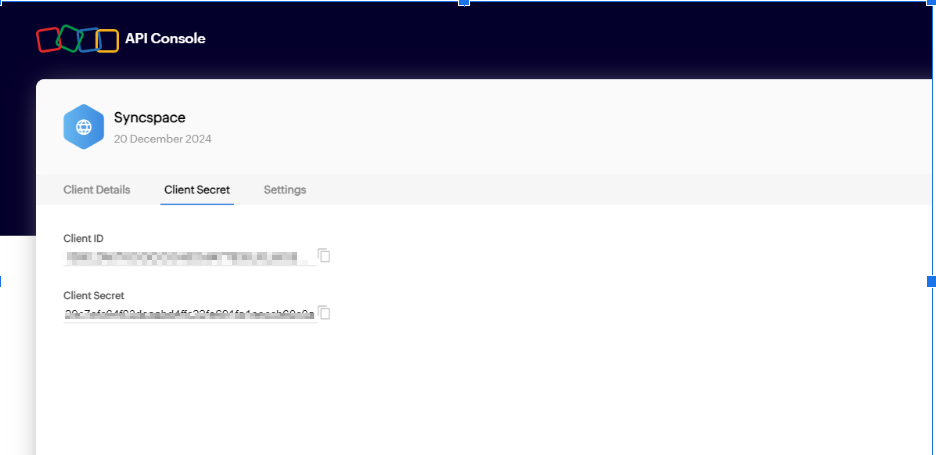
Step 6 After filling all fields, Submit the Form
-
Get your Client ID and Client Secret.
-
Copy them to the clipboard and save them securely —
you’ll need them to authenticate with Zoho